Prerequisites
I am using Windows8.1 for my OS.
Suppose we are using Windows 8.1.
JUnit
At first, we will add junit library. Open File -> Project Structure.


We need to add a directory for tests. Create the directory:


Click OK.
Now you have a "Test" directory.

Right click on it and mark the directory as "Test Sources Root"

We will add a test now. We will make a test for this method:
public class TestJunit {
public int test(){
return 10;
}
}
This is supposed to return 10.public int test(){
return 10;
}
}
You can use the "Create Test" intention action by pressing Alt+Enter.

Press Alt+Enter on the class name.

You will see that this will appear.
Click "Create Test". Then you will see this:

If you opened this dialog for the fist time, to add the required library jars to the module dependencies, you need to click "Fix".

Original image is from: https://www.jetbrains.com/help/idea/configuring-testing-libraries.html


Write as follows in the TestTestJunit.groovy:
import TestJunit;
import org.junit.Assert;
import org.junit.Test;
public class TestTestJunit {
@Test
public void unit_test1(){
TestJunit jtest = new TestJunit();
Assert.assertEquals(10, jtest.test());
Assert.assertEquals("This is not 10!!!",10, jtest.test());
System.out.println("Unit test1 finished without error.");
}
}
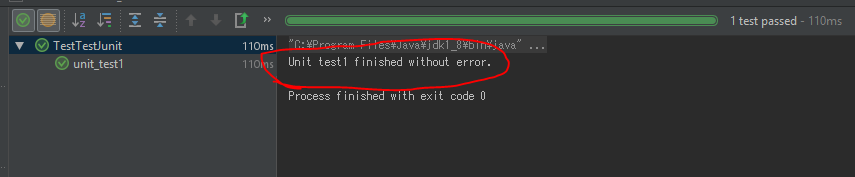
Now run the test (right click inside unit_test1 method):

Test finished.
Just for a try, we can change the returned value and test the method again:


You can see it is correctly detecting that the returned value is different from the expected value.