Contents
Preparation for coding:
1. Virtual box and Vagrant2. Install Apache
3. Install MySQL
4. Install PHP
Edit crawler
1. Download and configure for PHPcrawl
2. Editing code of the crawler
3. Save fetched information in a database.
4. Sharing a local website inside a local network (optional)
5. User interface
One of the problems that was still remaining was that there isn't a user-friendly interface of the crawler. We will make an interface for the crawler today. Other problems? We will deal with them later.
Actually there is example index already in PHP crawl. But we will make more simple version of this to learn how it works.

PHPCrawl_083/test_interface/index.php is the interface
Copy and paste the following to a txt file. Then change the name to "index.html" and save it in the share folder. This will be the simple interface.
<!DOCTYPE HTML>
<html>
<link rel="icon" href="favicon.ico" type="image/x-icon" />
<head>
<meta http-equiv="Content-Type" content="text/html; charset=UTF-8">
<title>Crawler</title>
</head>
<body>
<div class="all" style="vertical-align: middle;">
<h1>Crawler</h1>
<p>URL here</p>
<form method="POST" action="./PHPCrawl_083/example.php">
Url:
<input type="text" name="webToCrawl" size="50" value="" />
<br />
<p>data amount to crawl (*1024):
<input type="text" name="dataamount" size="50" value="250" />
<br />
</p>
<p>page limit:
<input type="text" name="plimit" size="50" value="" />
<br />
</p>
<p>ignore robot.txt?
<input type="radio" name="ig_robottxt" value="false"> Yes
<input type="radio" name="ig_robottxt" value="true" checked> No
</p>
<p>Follow mode:
<input type="radio" name="follow" value="0"> 0
<input type="radio" name="follow" value="1"> 1
<input type="radio" name="follow" value="2" checked> 2
<input type="radio" name="follow" value="3"> 3</p>
<p>
<input type="submit" value="Crawl" />
</p>
</form>
<p>Write URL which you want to crawl</p>
<br clear="all">
</div>
</body>
</html>

here
If you access to the html file from browser, you can see that there is a simple interface now. (It doesn't work yet though)

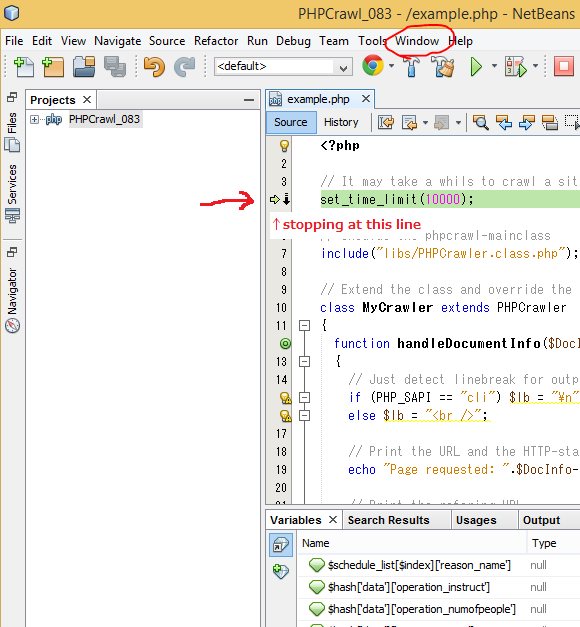
Change the php code of example.php like this:
<?php
// It may take a whils to crawl a site ...
set_time_limit(10000);
// Inculde the phpcrawl-mainclass
include("libs/PHPCrawler.class.php");
// Extend the class and override the handleDocumentInfo()-method
class MyCrawler extends PHPCrawler
{
public $howmanyrecordmade = 0;
function handleDocumentInfo($DocInfo)
{
// Just detect linebreak for output ("\n" in CLI-mode, otherwise "<br>").
if (PHP_SAPI == "cli") $lb = "\n";
else $lb = "<br />";
// Print the URL and the HTTP-status-Code
echo "Page requested: ".$DocInfo->url." (".$DocInfo->http_status_code.")".$lb;
// Print the refering URL
echo "Referer-page: ".$DocInfo->referer_url.$lb;
// Print if the content of the document was be recieved or not
if ($DocInfo->received == true)
echo "Content received: ".$DocInfo->bytes_received." bytes".$lb;
else
echo "Content not received".$lb;
// Now you should do something with the content of the actual
// received page or file ($DocInfo->source)
if($DocInfo->received == true){ //this will be executed only when receiving inforamtion successfully
$dsn = "mysql:dbname=testdb;host=localhost";
$user = "root";
$password = "root";
try{
$conn = new PDO($dsn, $user, $password);
$conn->query('SET NAMES utf8');
// set the PDO error mode to exception
$conn->setAttribute(PDO::ATTR_ERRMODE, PDO::ERRMODE_EXCEPTION);
$sql = 'INSERT INTO testtable(webinfo) VALUES ("'.htmlspecialchars(trim($DocInfo->source)).'")';
// use exec() because no results are returned
$conn->exec($sql);
echo "New record created successfully"."<br>";
$this->howmanyrecordmade++;
}
catch(PDOException $e){
echo $e->getMessage()."<br>";
var_dump($this->dbc);
}
}
echo $lb;
flush();
}
}
// Now, create a instance of your class, define the behaviour
// of the crawler (see class-reference for more options and details)
// and start the crawling-process.
$crawler = new MyCrawler();
// URL to crawl
$urlToCrawl = filter_input(INPUT_POST, 'urlToCrawl');
$crawler->setURL($urlToCrawl);
// Set delay time
$crawler->setRequestDelay(5);
// Only receive content of files with content-type "text/html"
$crawler->addContentTypeReceiveRule("#text/html#");
// Ignore links to pictures, dont even request pictures
$crawler->addURLFilterRule("#\.(jpg|jpeg|gif|png)$# i");
// Store and send cookie-data like a browser does
$crawler->enableCookieHandling(true);
// Set the traffic-limit to 1 MB (in bytes,
// for testing we dont want to "suck" the whole site)
$dataAmount = filter_input(INPUT_POST, 'dataAmount');
$dataAmount = $dataAmount * 1024;
$crawler->setTrafficLimit($dataAmount);
// Obey robot.txt or not. This should be true usually.
$mode = filter_input(INPUT_POST, 'ig_robottxt');
$crawler->obeyRobotsTxt($mode);
// Limit page numbers
$plimit = filter_input(INPUT_POST, 'plimit');
if(strlen($plimit) > 0){
$crawler->setPageLimit($plimit);
}
// Set follow mode
$follow = filter_input(INPUT_POST, 'follow');
$crawler->setFollowMode($follow);
// Thats enough, now here we go
$crawler->go();
// At the end, after the process is finished, we print a short
// report (see method getProcessReport() for more information)
$report = $crawler->getProcessReport();
if (PHP_SAPI == "cli") $lb = "\n";
else $lb = "<br />";
echo "Summary:".$lb;
echo "Links followed: ".$report->links_followed.$lb;
echo "How many new record made: ".$crawler->howmanyrecordmade." record(s)".$lb;
echo "Documents received: ".$report->files_received.$lb;
$byteData = $report->bytes_received;
$megabyteData = round( $byteData/1024/1024, 2);
echo "Bytes received: ".$byteData." bytes".$lb;
echo "Megabytes received: ".$megabyteData." megabytes".$lb;
echo "Process runtime: ".$report->process_runtime." sec".$lb;
?>
Then we will have a simple interface for the crawler. We can operate the crawler from here.

But as you know, the quality is not good yet. But at least it works. We will deal with other problems next time.
Also, php crawl can not get information from https websites. Fix this problem this way.